


Introduction
A fixed navbar that elegantly changes color as users scroll can improve readability over varied page backgrounds and provide a polished, branded feel. Rather than using manual scroll-event listeners and CSS class toggles—which can feel janky—GSAP’s ScrollTrigger offers a declarative, high-performance way to bind animations directly to scroll positions.
Adding dynamic scroll-based effects to your navbar not only enhances usability but also reinforces your site’s branding. In this comprehensive tutorial, you’ll learn:
- Why GSAP ScrollTrigger is ideal for scroll animations
- How to set up GSAP in any project
- Step-by-step code to transition your navbar color on scroll
- Performance best practices
- Troubleshooting common issues
- How to get up and running instantly in Webflow with a cloneable template (Webflow)
We’ll cover everything from setup to a production-ready solution, plus an instant Webflow cloneable so you can hit the ground running without writing a single line of code.
Why Use GSAP for Scroll Animations?
- Optimized Performance: Built on
requestAnimationFramefor consistent 60fps animations. - Declarative API: Define start/end triggers without boilerplate scroll handlers.
- Cross-Browser Reliability: No vendor prefixes or hacks needed.
- Advanced Control: Scrubbing, pinning, callbacks, and responsive media queries are all first-class features.
Prerequisites
- Familiarity with HTML, CSS, and vanilla JavaScript
- Node.js/npm (optional) for package management
- A Webflow account if you plan to use the cloneable
Step 1: Installing GSAP and ScrollTrigger
npm Installation
npm install gsap
// script.js
import gsap from "gsap";
import { ScrollTrigger } from "gsap/ScrollTrigger";
gsap.registerPlugin(ScrollTrigger);
CDN Installation
In your <head>:
<script src="https://cdnjs.cloudflare.com/ajax/libs/gsap/3.12.2/gsap.min.js"></script>
<script src="https://cdnjs.cloudflare.com/ajax/libs/gsap/3.12.2/ScrollTrigger.min.js"></script>
<script>gsap.registerPlugin(ScrollTrigger);</script>
Step 2: Basic HTML & CSS Setup
Create a fixed navbar and placeholder content:
<header class="navbar">
  <nav>…</nav>
</header>
<section class="hero">…</section>
<section class="content">…</section>
.navbar {
  position: fixed;
  width: 100%;
  padding: 1rem 2rem;
  background-color: transparent;
}
.hero { height: 100vh; background: url('hero.jpg') center/cover; }
.content { height: 200vh; background: #f5f5f5; padding: 2rem; }
Step 3: Initializing GSAP in JavaScript
// script.js
import gsap from "gsap";
import { ScrollTrigger } from "gsap/ScrollTrigger";
gsap.registerPlugin(ScrollTrigger);
gsap.defaults({ ease: "power2.out", duration: 0.5 });
Step 4: Creating the Scroll-Triggered Color Change
gsap.to(".navbar", {
  backgroundColor: "rgba(0,0,0,0.8)",
  scrollTrigger: {
    trigger: document.body,
    start: "top top+=50",
    toggleActions: "play reverse play reverse"
  }
});
Step 5: Adding Easing and Duration
gsap.to(".navbar", {
  backgroundColor: "#1a1a1a",
  duration: 0.4,
  ease: "power1.inOut",
  scrollTrigger: {
    start: "top top+=80",
    toggleActions: "play reverse play reverse"
  }
});
Pro Tip: Use scrub: true to bind the animation’s progress to the scrollbar for more interactive feedback.
gsap.to(".navbar", {
  backgroundColor: "#1a1a1a",
  scrub: 0.3,
  scrollTrigger: { start: 50, end: 200 }
});
Step 6: Handling Responsive Breakpoints
const mm = gsap.matchMedia();

mm.add("(min-width: 768px)", () => {
  gsap.to(".navbar", {
    backgroundColor: "#111",
    scrollTrigger: { start: "top top+=100", end: 300, scrub: 0.5 }
  });
});

mm.add("(max-width: 767px)", () => {
  gsap.to(".navbar", {
    backgroundColor: "#222",
    scrollTrigger: { start: 30, end: 150, scrub: true }
  });
});
Implementing in Webflow with a Cloneable
If you’d rather skip the manual setup, Webflow offers a Cloneable by Timothy Ricks that demonstrates this exact effect, complete with GSAP ScrollTrigger integration:
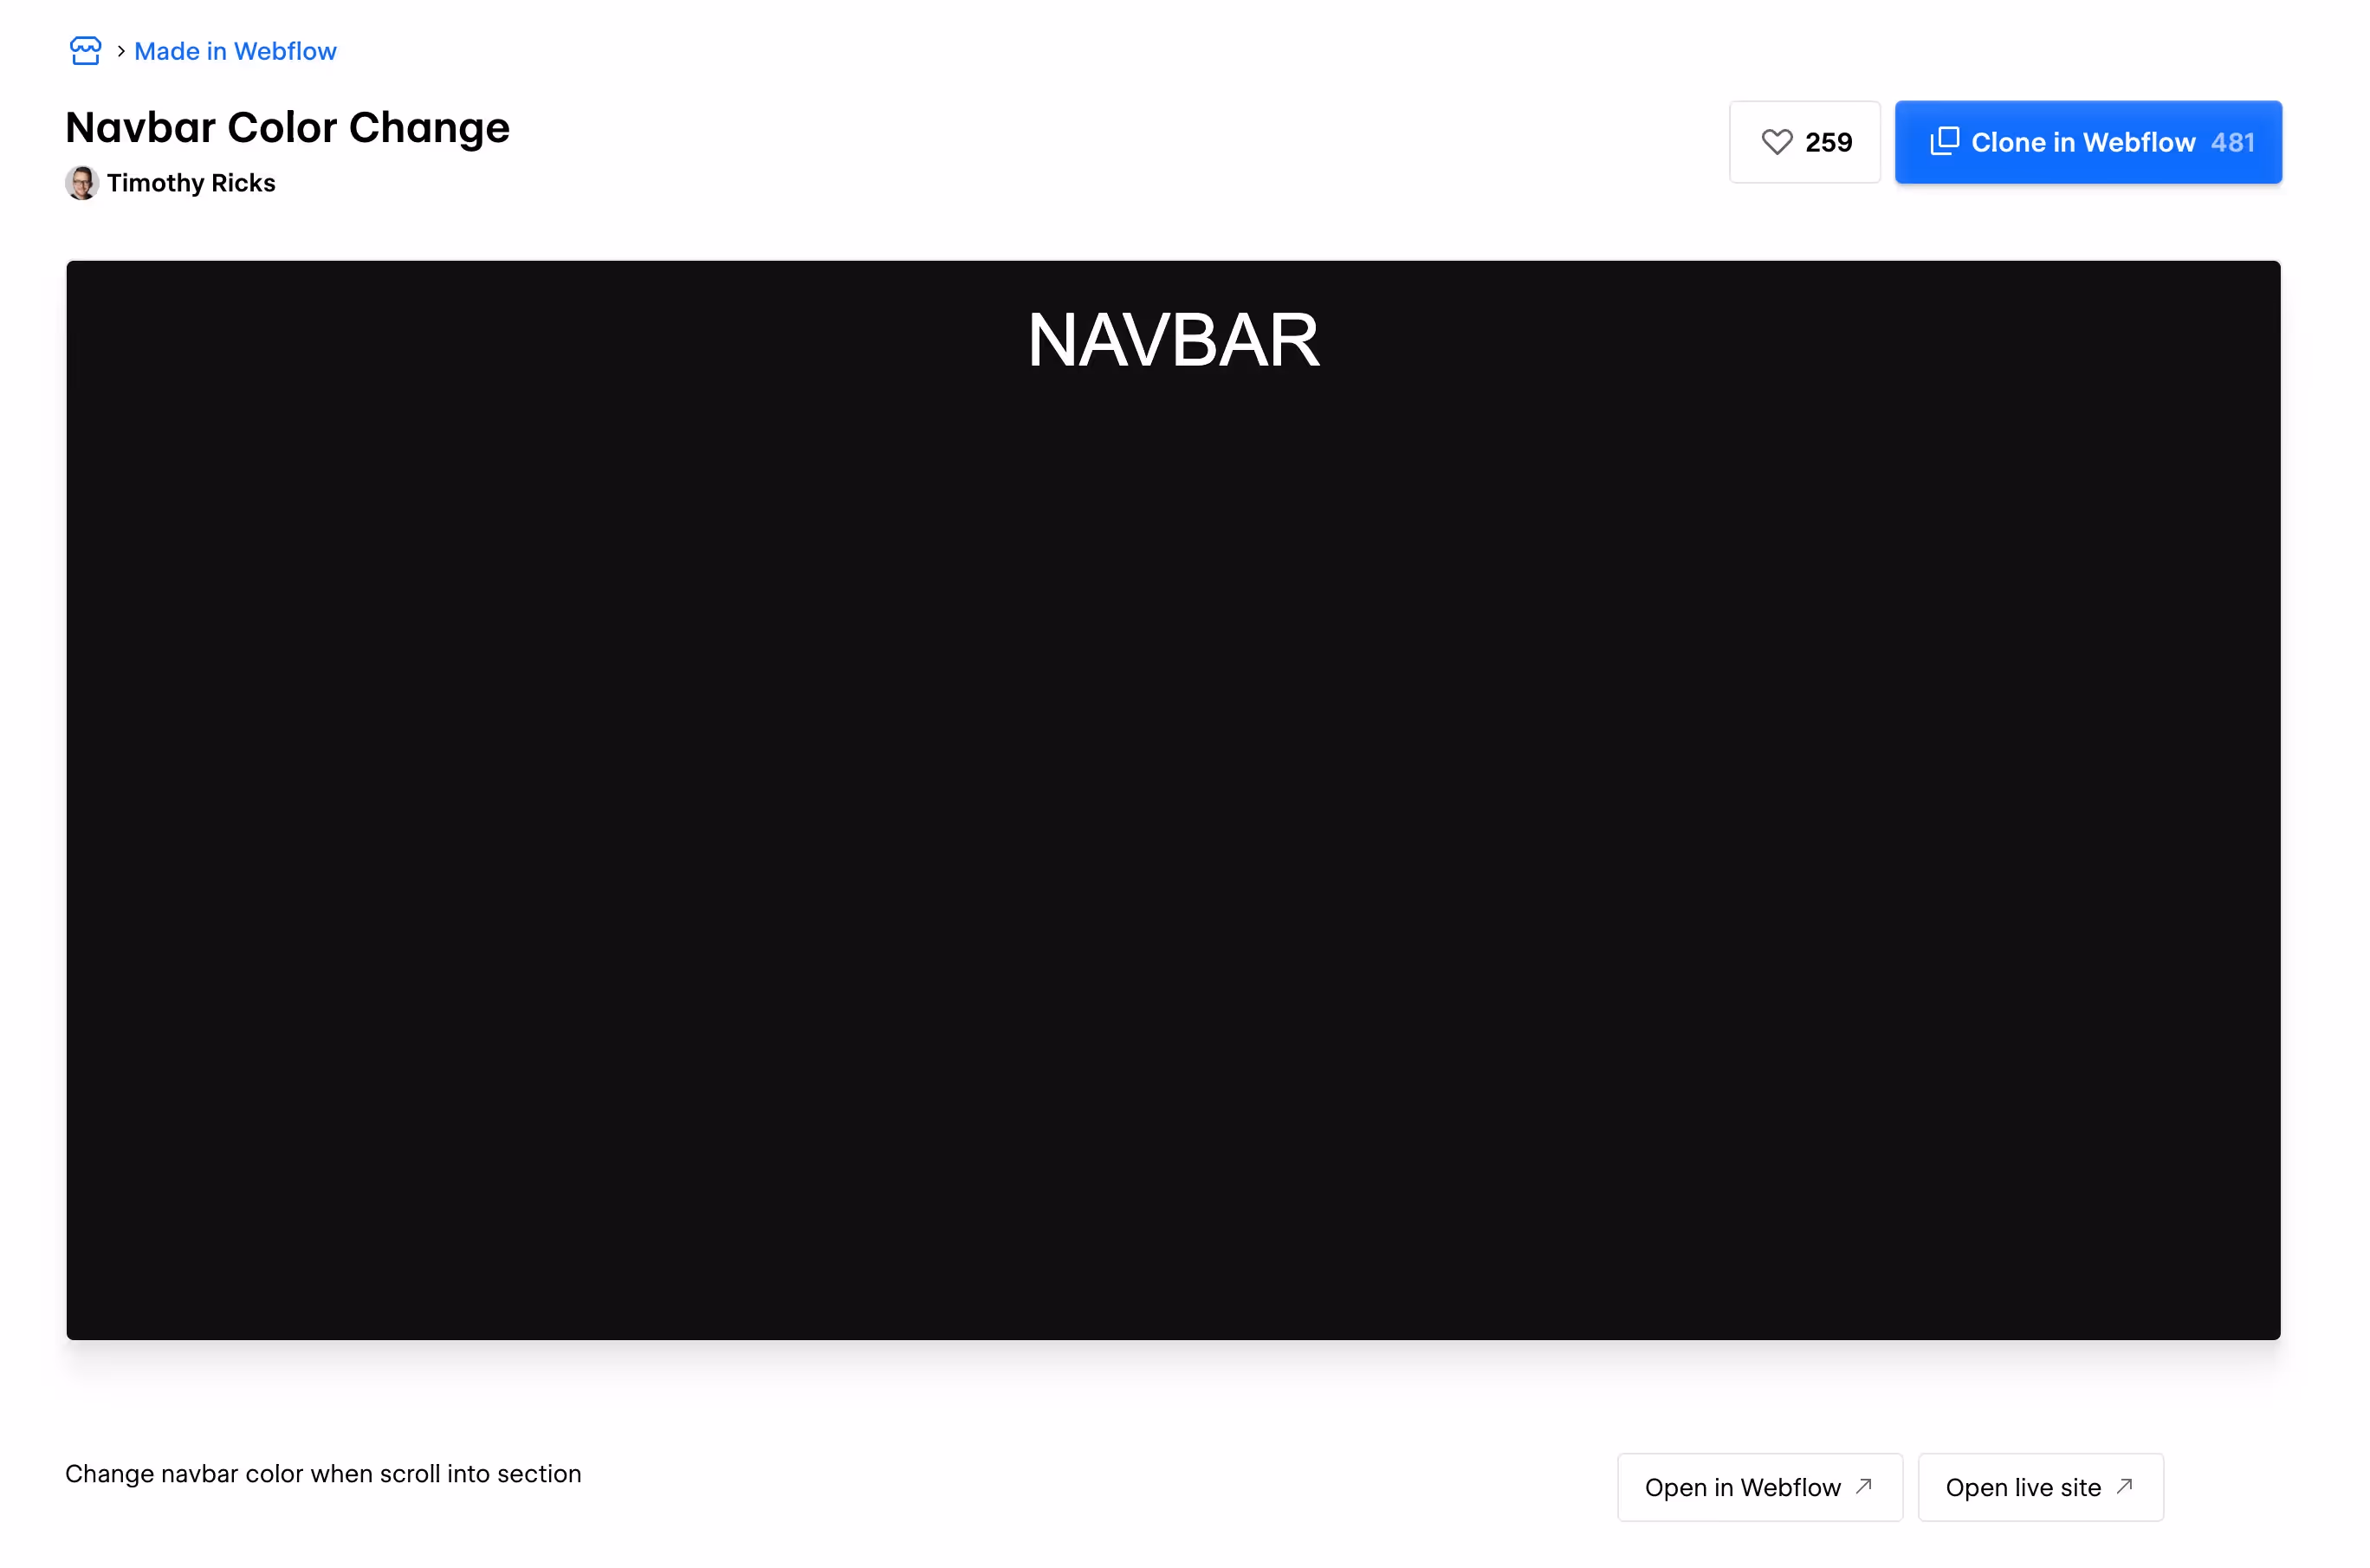
- Open the Cloneable:
Visit the “Navbar Color Change” cloneable by Timothy Ricks on Webflow’s Made in Webflow showcase. - Clone to Your Account:
Click Clone in Webflow to add the project to your dashboard. - Inspect the Setup:
- In the Designer, select the Navbar element.
- Under Custom Code, you’ll find
<script>embeds that import GSAP & ScrollTrigger. - Interactions are configured on the Navbar element via Webflow’s interface, using data attributes wired to GSAP calls.
- Publish & Preview:
- Use the Open live site link to see the effect in action.
- Customize colors, trigger points, or easing directly in the Webflow Designer without writing extra JavaScript.
This cloneable jump-starts your project, letting you focus on design tweaks rather than boilerplate setup.
Performance Tips & Best Practices
- Prefer
scrubfor smooth interpolation instead of abrupt class toggles. - Limit paint area: Avoid animating large background images on mobile.
- Test on real devices: Emulators don’t always catch lag.
- Minify your scripts: Production GSAP builds are already slim; serve via CDN with HTTP/2.
Common Issues & Troubleshooting
- Navbar flickers on transition: Match CSS
transitionduration to GSAP tween or remove redundant CSS. - ScrollTrigger not initializing: Confirm
gsap.registerPlugin(ScrollTrigger)runs before any tweens. - No markers visible: Set
markers: truein your ScrollTrigger config to debug positions. - Animation only plays once: Use
toggleActions: "play reverse play reverse"oronce: false. - Offset misaligned on mobile: Tweak
start/endvalues or add a mobile-specificmatchMediablock.
Conclusion
You’ve now learned how to change your navbar’s color on scroll using GSAP ScrollTrigger, with a full code-based walkthrough and an instant Webflow cloneable for one-click integration. Whether you code by hand or leverage Webflow’s visual tools, your navbar will now respond to scroll position with a polished, smooth color transition.
FAQs
1. Can I use GSAP ScrollTrigger in React or Vue?
Absolutely. Import GSAP & ScrollTrigger in component lifecycle hooks (e.g., useEffect in React) and clean up your triggers on unmount.
2. How do I reverse the animation when scrolling back up?
Use toggleActions: "play reverse play reverse", which automatically plays the tween forward on enter and reverses on leave.
3. Is GSAP free for commercial projects?
Yes—GSAP’s core library is free for commercial use. Club GreenSock membership unlocks premium plugins and support.
4. How can I optimize for low-end devices?
Animate only transform/opacity properties, reduce DOM complexity, and test performance on actual devices rather than simulators.


.png)